Accessing the BIS Mobile App
When launching the BIS Mobile app, the first screen that appears is the “Welcome to BIS Mobile” which requires the company’s designated access code. Enter your company’s designated access code issued by M.I.C.S.
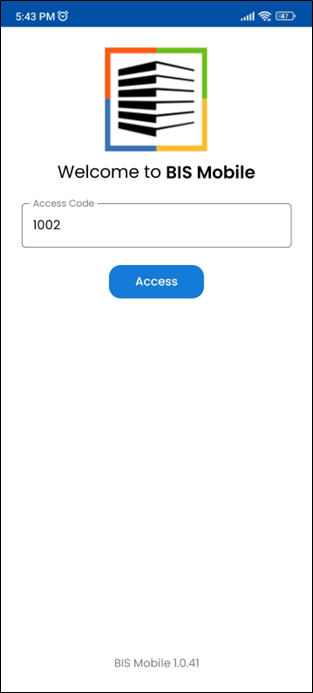
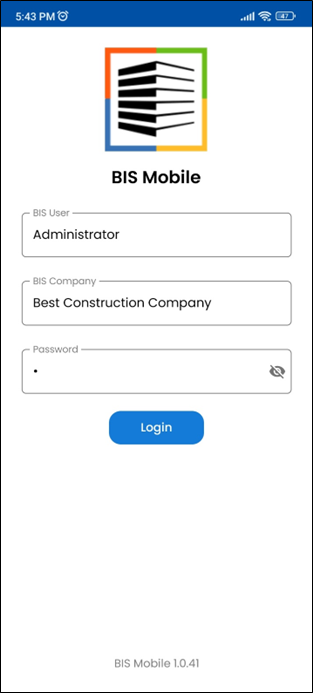
Once the access code is entered and accepted, select your BIS user ID and your company from the existing lists in the Cloud database.
Next, enter your password (required) and click “Login.”
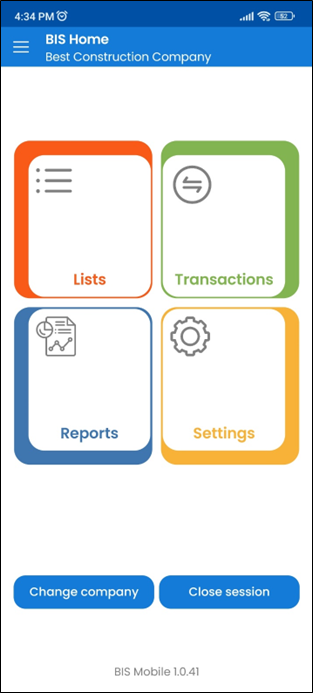
After the access and login process are completed the “BIS Home” page is displayed with your company name listed in the application bar at the top.
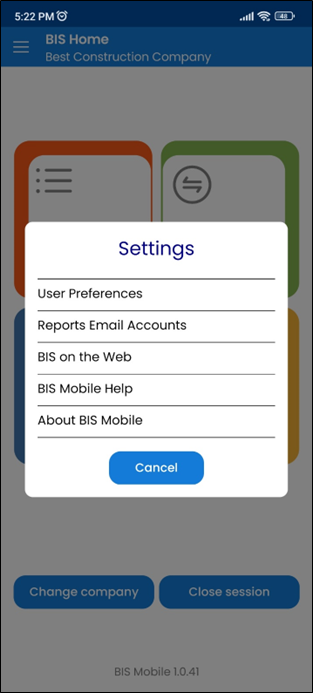
The “BIS Home” page has four primary sections: Lists, Transactions, Reports, and Settings along with the “Change Company” and “Close Session” buttons at the bottom.
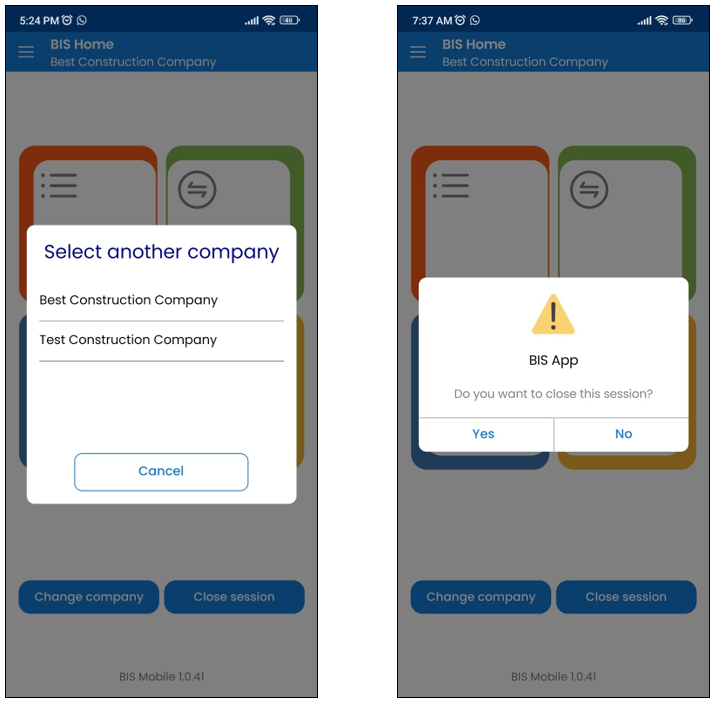
Click the “Change company” button to switch to a different company or click “Close session” and “Yes” to end your Cloud session.
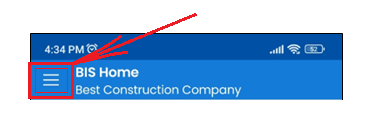
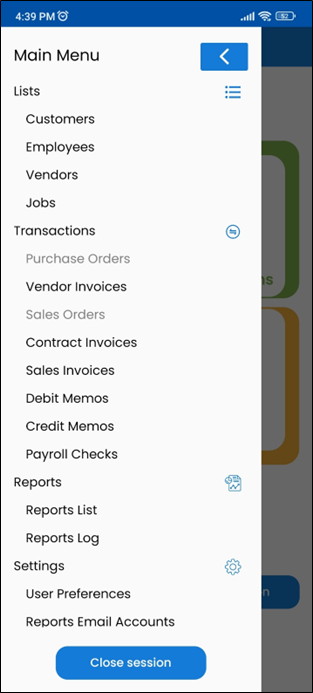
Optionally, clicking the “Main Menu” (3-lines) icon in the upper left will display menu items available in list form allowing for a quick selection from the list.
Lists
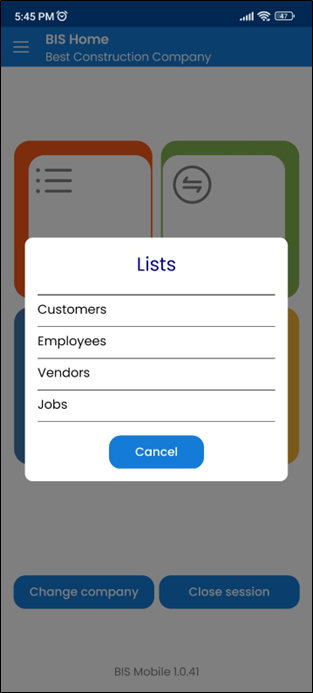
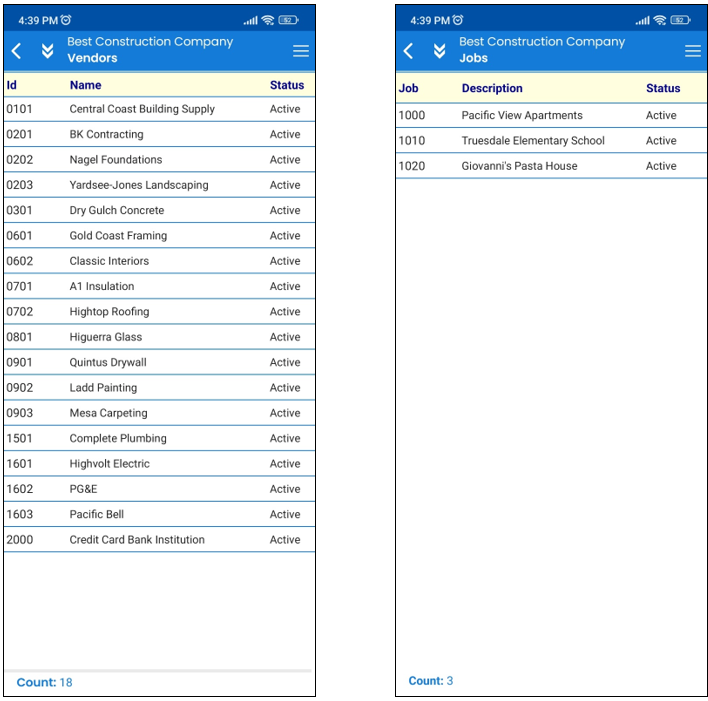
From the Lists section, you may choose between Customers, Employees, Vendors, and Jobs master files.
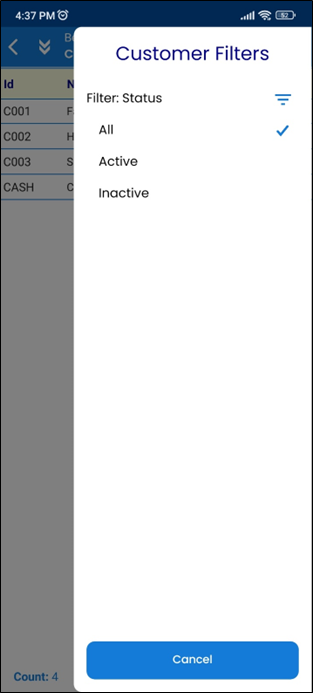
Upon selection, the list will appear from your data. To access the list’s filter options, select the “Menu” icon that now appears in the upper right.
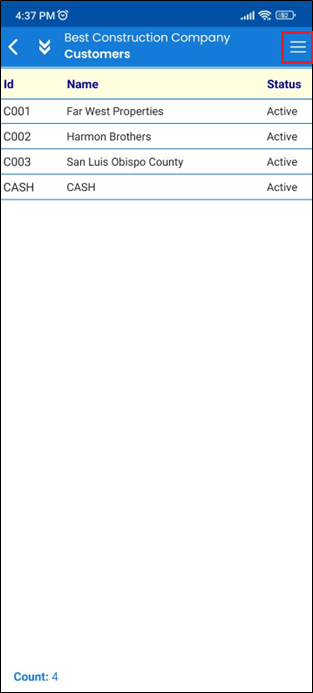
The list’s filter options will appear allowing the option to be modified. Each list has its own filter options.
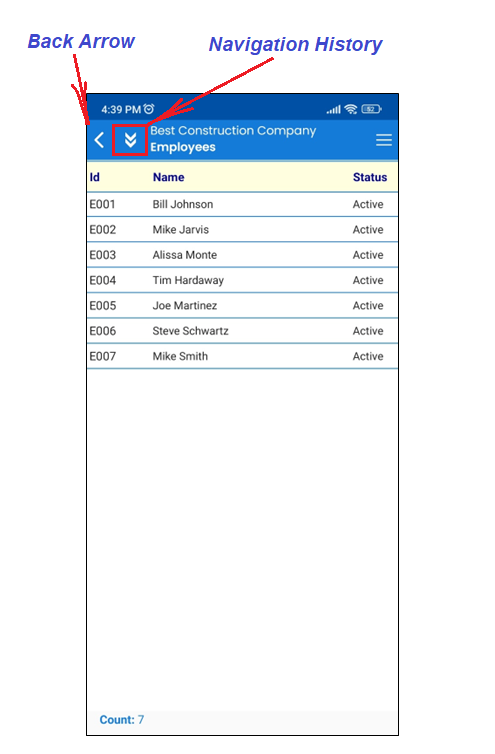
“Back Arrow” and “Navigation History” navigation icons are provided in the title bar along with a record count indicating the number of records queried displayed at the bottom of the screen. Note: unless a specific record or transaction has been selected the “Navigation History” will return the user to the Main Menu.
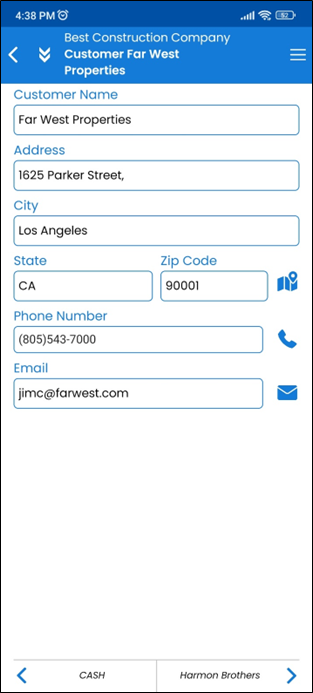
Selecting a record in the list will displays the records “detail” page with additional information for that record and may optionally be edited on-the-fly, if needed. Note the “previous” and “next” record navigation arrows available at the button of the screen and other types of options like Google maps, phone and email that may be available depending on the type of device in use.
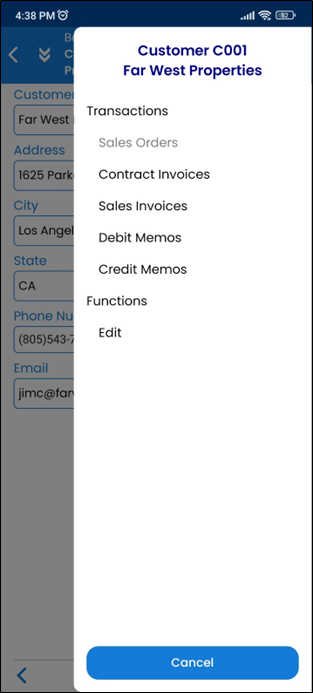
When a record has been accessed, accessing the “Menu” icon located to the right in the application bar will provide a menu of record options corresponding to the selected record along with an Edit function that will allow you to make changes the displayed fields.
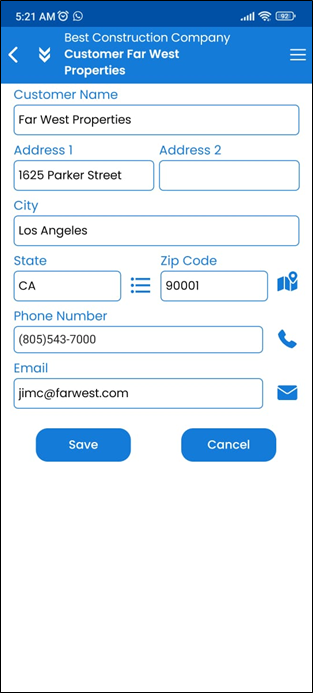
Any applied changes can be saved or canceled. Saved changes will then be posted in the BIS Cloud Edition database.
Transactions
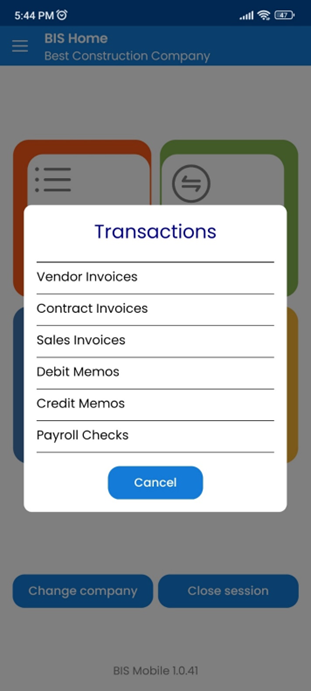
The Transactions section allows you to access Vendor Invoices, Contract Invoices, Sales Invoices, Debit Invoices, Credit Invoices, and Payroll Checks.

Once a selection is made from the transaction list, dropdown filter options become available for refining the transaction query process. Set the filter options and click the “Search” button to display the query results including a transaction count and total $ amount, if applicable.
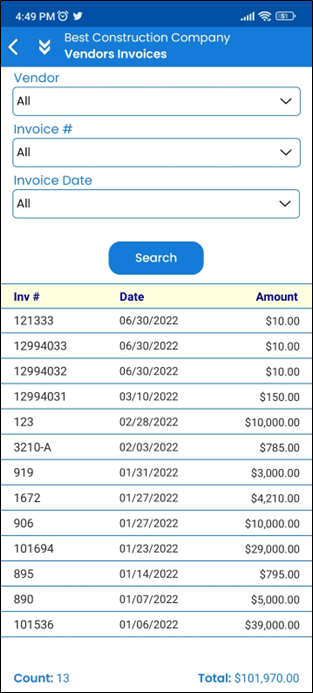
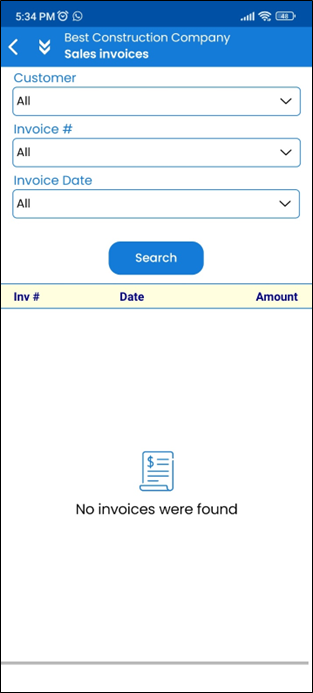
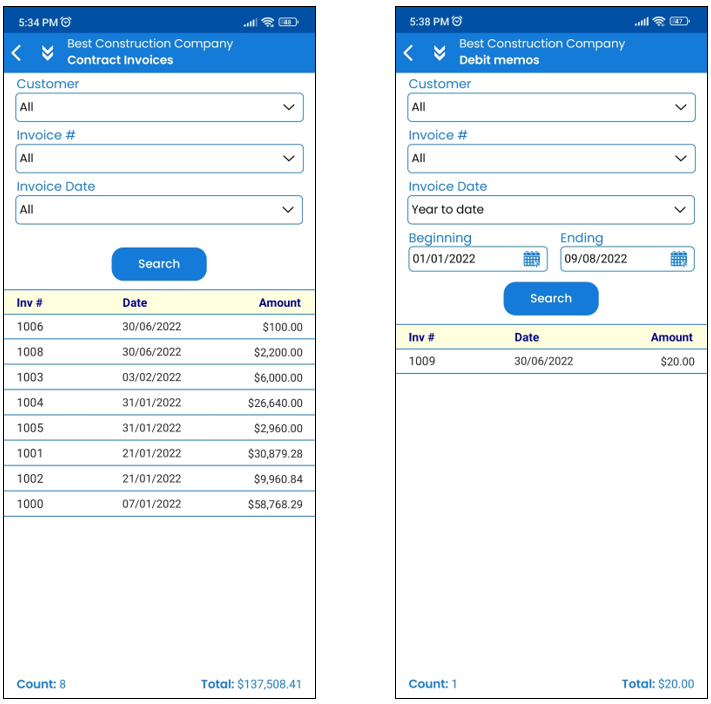
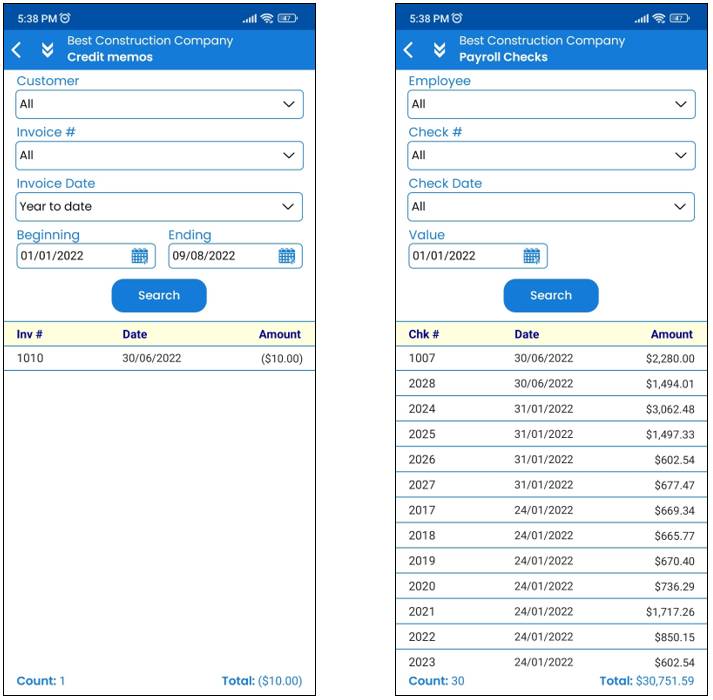
Selecting a transaction will allow you to view additional details of the transaction, if needed.
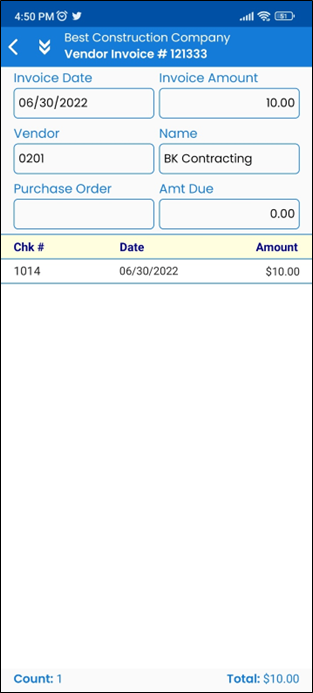
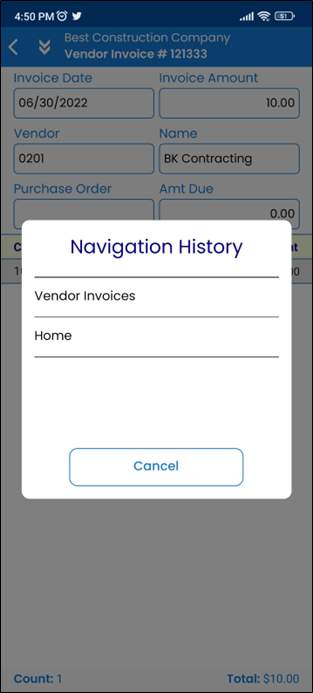
Selecting the Navigation History icon, provides the option to view additional related transactions or return to the Home Menu screen.

Reports
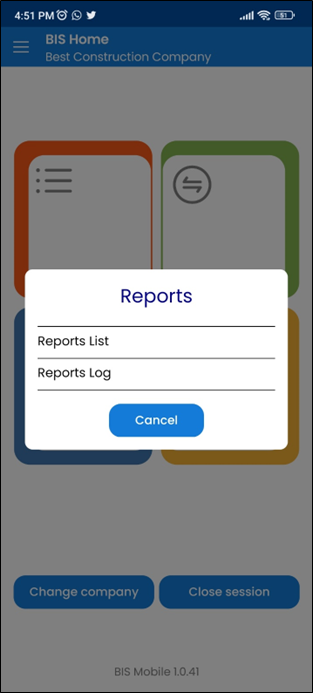
Selecting the Reports selection, brings up the options “Report List” and “Reports Log”, in the event you need to review a previously requested report.
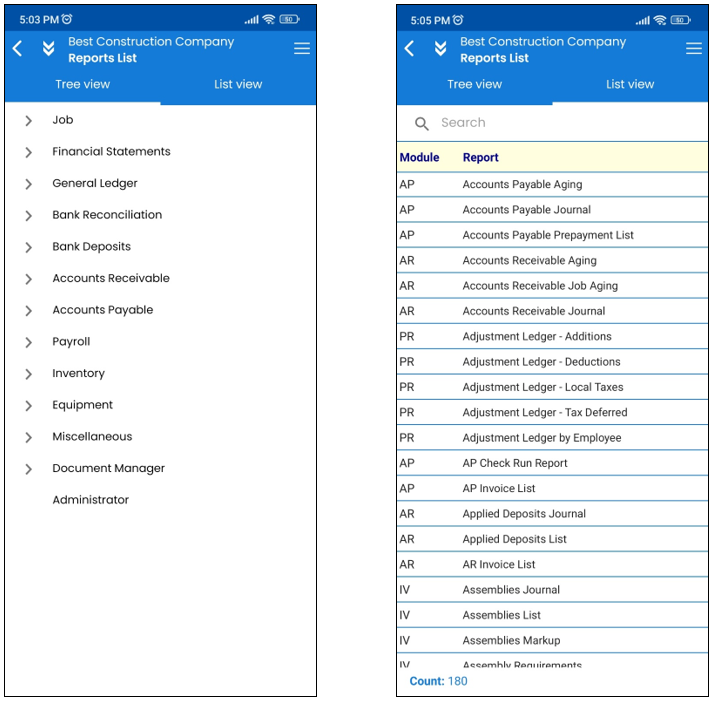
Selecting the Report List provides an available drill-down menu which allows reports to be selected under their respective areas within BIS.
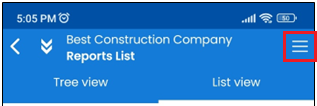
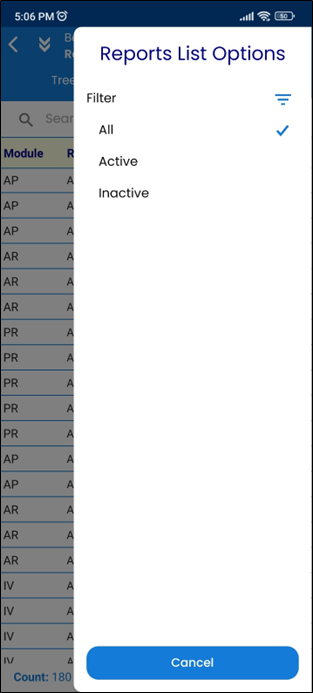
Once a selection is made for either the Report List or the Report Log, the Menu icon in the upper right may be used to bring up filter options:
Once a report is selected from the list, the report’s query Options include Report Type, Order By, Ascending/Descending, along with additional related options. Filters are available to narrow or broaden the report information as desired.
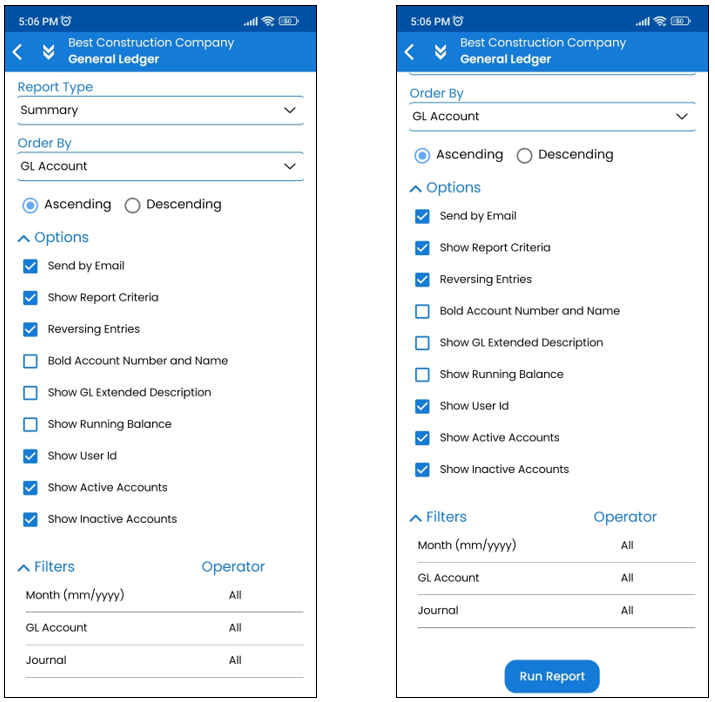
Once the report query is set, click “Run Report” to complete the process.
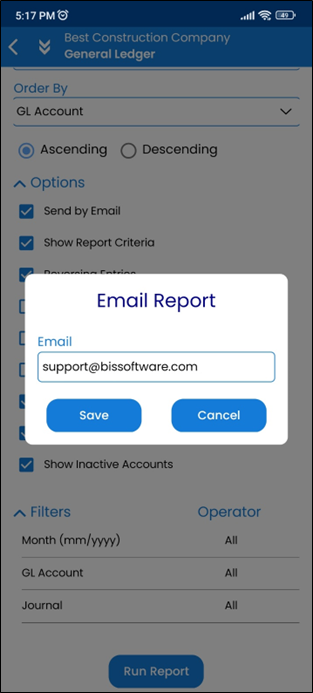
When selecting “Send by Email”, clicking “Run Report” we provide a prompt asking for an email address. Enter an email address and click Save to complete the process.
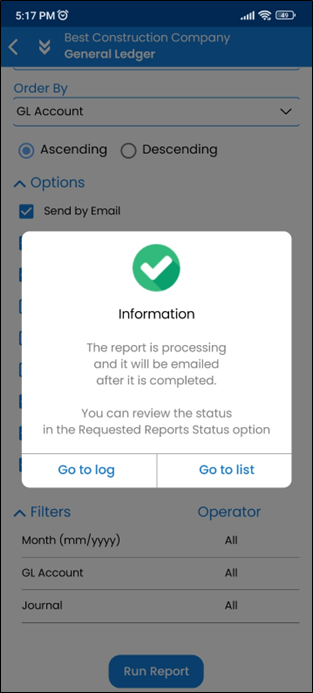
Once completed, you may choose “Go to log” to view or share the PDF or “Go to list” to select another report.
Selecting “Go to log” will provide a list of completed reports, the date the report was processed and the report status. A report may be opened allowing you to view the report details as well as viewing PDF, if needed.
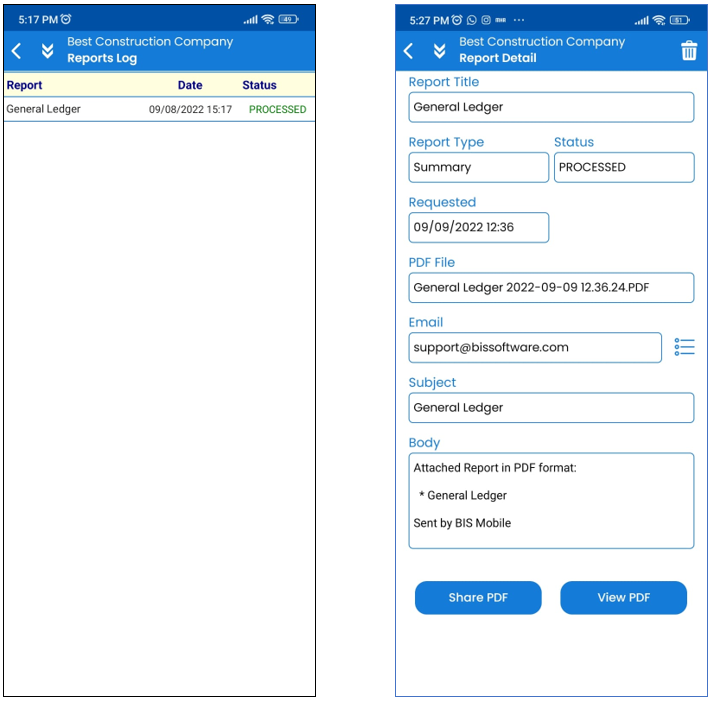
Selecting the “Share PDF” button will launch the enabled sharing options available to the running device.
Selecting the “View PDF” button will launch the enabled PDF viewing options available on the running device.
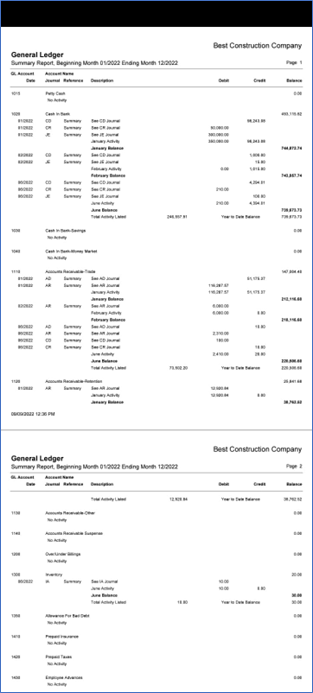
PDF Preview example
Settings
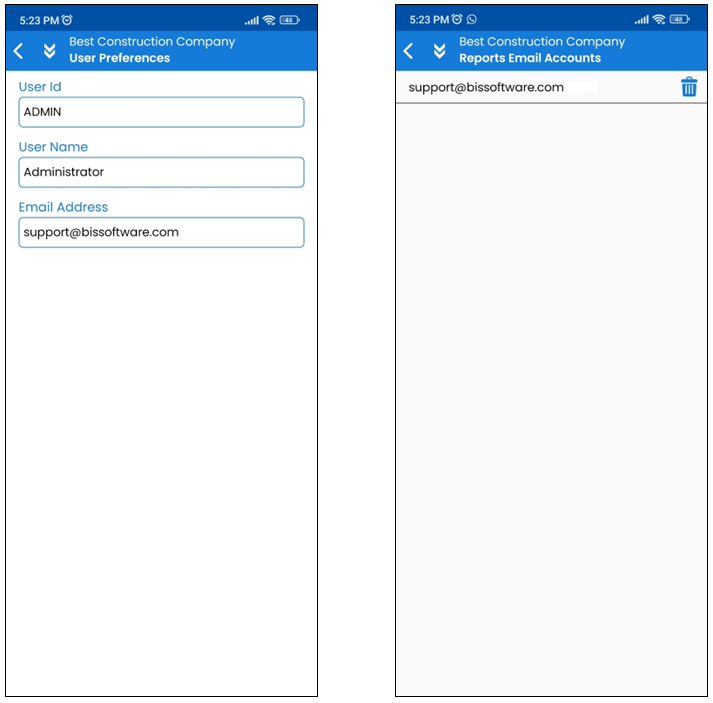
The Settings section provides multiple options including User Preferences, Reports Email Accounts, BIS on the Web, BIS Mobile Help, and About BIS Mobile.
