If you have used the Delete Historical Fiscal Years process to reduce your database size for the purpose of improving speed and performance within BIS, this process will allow for a data backup to be restored to separate folders, making the historical data and its related information readily accessible and available when needed.
BIS allows for data backups to be restored to separate folders and made accessible but to doing so, there are some special steps to follow in order to complete the process successfully.
First, identify the Historical BIS Backup file and its location that you wish to restore.
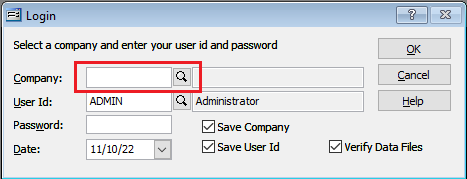
Launch BIS and login with the Company field blank and username ADMIN, click OK. (Or, if logged into your company, go to File and select Close Company in the menu.)
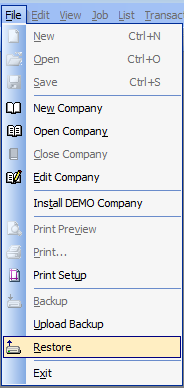
Go to File and select Restore in the menu.
On the Restore form, click the Browse button to the right of Backup File, then browse and select the backup file.
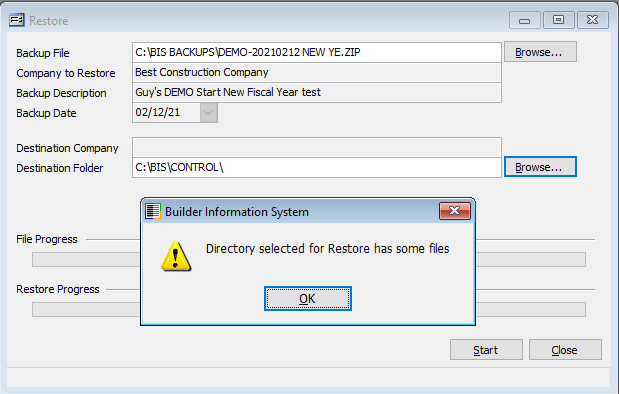
Next, click the Browse button for Destination Folder, then browse and select the desired area where you wish to restore the data. By default, it will select the Control folder path. DO NOT SELECT THE CURRENT COMPANY DATA FOLDER. If you elect to click OK, it will return you to the Restore form with the Control folder path populating the Destination Folder field. Now, enter the desired name of the folder where it will restore the data. You may wish to identify the folder as Historical Data “Company Name.” Clicking the Start button will bring up a prompt “Folder doesn’t exist. Do you want to create it?”

Click “Yes.” Now Click the Start button to initiate restoring the data to the Destination folder.
Once the “Restore process is complete”, click OK.
A prompt may appear asking “Do you want to add this company to Edit Company? Click “No.”
Note: The Edit Company form identifies which company data folders are accessible via the Control in use. Each company listed on the Edit Company form must have a unique Company ID so to complete this process the current Company ID must be modified in order to add the “Historical” company folder to the form.
Close the Restore form. Go to File and select Edit Company in the menu.
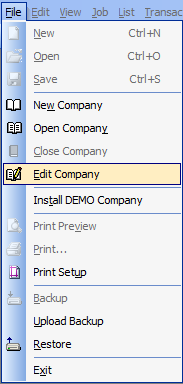
On the Edit Company form, select your current company data, click the “Edit” button, modify the Company ID and click “Save.”
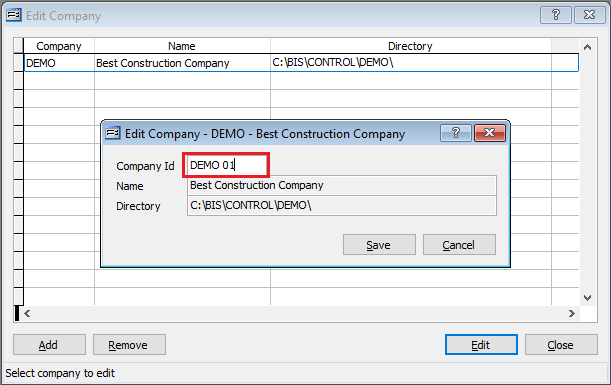
Now, click “Add” on the Edit Company form, browse, and select the folder with the Historical data. “Do you want to add company name?” Click Yes.
Now with the Historical data selected on the form, click the “Edit” button and modify the Company ID to reflect that it is the Historical data. Bear in mind that the field length is limited to eight characters. Save. “Changes save successfully.”
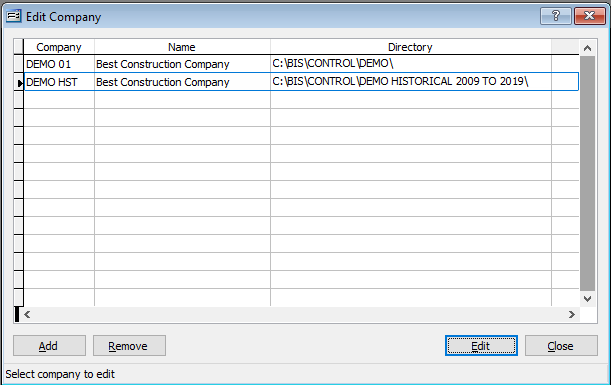
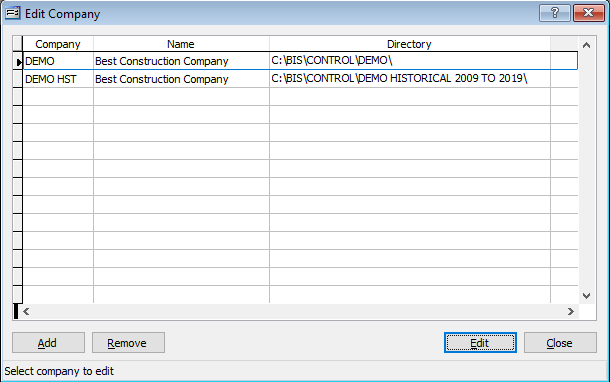
Lastly, select the original current company on the form and click “Edit” to return the Company ID to its original ID and save the change. Close the form.
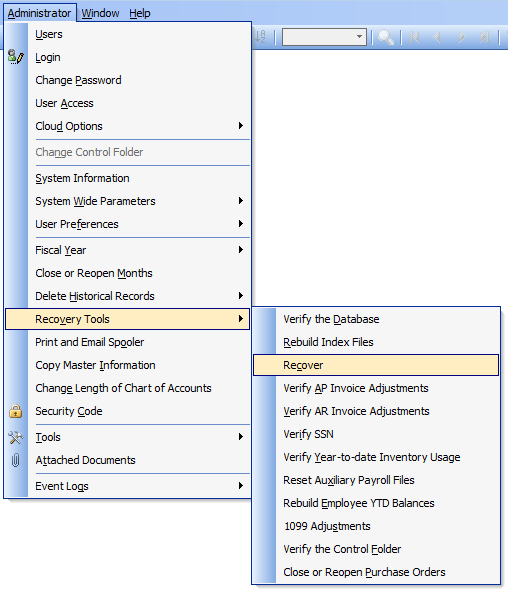
The final step is to access the Historical data as ADMIN and run the Recover process .
An option to consider is to modify the background color or to add a background image for either the current company data or the historical company data to distinguish one from another to minimize confusion when in either one.
Another consideration is to setup a different Control folder for the Historical data which will require changing the Control folder to access.
